How to prevent forest fires in 3 steps
How To Prevent Forest Fires In 3 Steps
Forests are undeniably amazing places that cover almost a third of our beautiful Earth’s land — including over 700 million acres in the U.S.
Home to a wide variety of animals and plants, our forests are extremely valuable. Not only are they places of allure and outdoor fun, but we also rely on trees for fuel, raw materials, medicine, and more. Even more importantly, trees and plants that live in the forest make sure that our planet’s temperature is liveable and that we all have enough oxygen to breathe.
Needless to say, our forests are important! And it’s crucial to do your part in preventing forest fires to keep them healthy, strong, and thriving.
Not sure how to prevent forest fires? Don’t worry — Stealth Angel Survival has got your back!
Read on to learn everything you need to know about forest fire prevention.
But First, Here Are a Few Things You Should Know
Wildfires can destroy millions of acres of land at terrifyingly fast speeds, engulfing everything in their paths. These wild rolling flames have the ability to travel up to 14 miles an hour, which converts to about a four-minute-mile pace and can overtake life in a matter of minutes.
Forest fires, specifically, are large uncontrolled fires that take place in — you guessed it — the forest. While some forest fires are started by natural causes, such as lightning, most wildfires in the U.S. are due to human error. This can be carelessness, such as not properly putting out a campfire or dropping a lit cigarette.
What’s more, it takes an average of two to four years after a wildfire before reforestation efforts can begin. Young saplings simply can’t survive until the soil has begun to naturally replenish, can absorb water, and can support new life. It also takes quite a bit of time to mobilize resources for reforestation.
Simply put, it can take up to four years of rehab to restore a forest that was burnt to the ground due to a single second of carelessness.
How Do Forest Fires Spread?
Believe it or not, there are many factors that contribute to how a wildfire will spread in the forest and how intense the fire will be.
They include:
Fires require fuel to burn. Now, the type of fuel will impact how quickly the fire will spread as well as how intense it will be. With that being said, forests have many plants at different levels. So, the fuels in the forest will be at different levels, too.
- Aerials fuels: don’t touch the ground. They are at least one meter above the ground, so aerial fuels could be leaves, moss, branches, bark, and high brush.
- Surface fuels: are on the ground. Here, you’ll find logs, stumps, and bushes, as well as fallen leaves, branches, cones, and needles.
- Ground fuels: are anything that will burn below the surface fuels. This could be rotting branches or roots.
- Ground fires burn the ground fuels. These fires typically don’t have too much flame— they smolder. Surface fires quickly burn the surface fuels, and crown fires burn the aerial fuels.
Of the three types of forest fires, crown fires are the most destructive as they can spread quickly from tree to tree, causing immense destruction in a matter of minutes.
The weather plays a huge role in how a fire will spread. Forest fires are much more likely to start and spread during droughts when plants are bone-dry. Add strong winds to the equation, and you’ve got a recipe for destruction. The temperature and humidity will also impact how well a fire will spread. Wildfires thrive in hot and dry temps.
The topography is the shape and features of the forest where the fire is burning. Fire tends to move much faster uphill, so if the forest has many steep slopes or is particularly hilly, you can expect a fire to spread quickly.
OK — How Are Forest Fires Stopped?
Fire requires three things to burn —oxygen, fuel, and heat.
Commonly referred to as the “fire triangle,” take any of these three elements away, and a fire can’t burn. So, how are forest fires stopped, you ask? Simply put, brave firefighters battle these deathly infernos by depriving them of one or more of the three elements.
One traditional method is to douse existing fires with water and spray fire retardants. Firefighters also sometimes work in teams to clear vegetation from the land around a fire to contain and eventually starve it of fuel.
In addition, firefighters may also employ controlled burning, creating what’s called “backfires” to stop a wildfire. This common method involves fighting fire with fire and works by setting a controlled fire to remove undergrowth, brush, and litter from a forest, depriving an otherwise dangerous wildfire of fuel.
Do Your Part: 3 Easy Steps To Prevent Forest Fires
Remember, only YOU are responsible for the fires YOU start! Be careful to only start a fire when the conditions allow the fire to burn safely, and don’t forget to extinguish it correctly. If you cause a forest fire — regardless of being an accident — you may be held solely responsible for the cost of putting out the fire as well as face jail time, which could end up costing you hundreds of thousands of dollars.
If you’re planning a camping trip with the kiddos to enjoy the great outdoors, chances are you’re going to build a fire to keep warm (and roast marshmallows, of course!). Do your part and educate yourself on forest fire prevention beforehand.
Follow these easy steps to keep preventable fires at bay:
Step #1: Choose a Campsite Wisely and Watch the Weather
When choosing your camping site, do your best to build your camp next to a water source that is sheltered from the wind. Also, be sure to pay extra close attention to the weather and drought conditions. If it’s a particularly hot day with very little humidity, it might be best to skip the campfire.
Step #2: Build a Safe Campfire
Many folks love to go camping and enjoy the warmth and light that comes from a crackling campfire, but your seemingly harmless campfire can quickly cause wildfires if you don’t build it properly.
To properly build a campfire, make sure you:
- Select a flat, open location that is far away from flammable materials such as brush, logs, or decaying leaves.
- Scrape away leaves, grass, and needles down to the mineral soil.
- Cut your wood in short lengths, and pile it within the cleared area before lighting the fire.
- Never leave your fire unattended.
Step #3: Douse Your Campfire Until It’s Cold to the Touch
Done with your campfire? Great! Don’t leave it unattended until it’s completely out. To properly put out a wood-burning fire pit, allow the wood to completely burn down. Then, dump a bucket of H2O on top of it and grab your handy-handy shovel to stir the ashes. Pour more water over the top of the campfire before stirring the ashes for a final time.
Repeat this process until:
- The ashes don’t hiss.
- The ashes are cold to the touch.
- No more smoke comes from the ashes.
Watch How You Get Lit
These three steps can make all the difference between a totally preventable wildfire that consumes everything in its path, leading to mass destruction and a wonderful time enjoying Mother Nature in the forest.
While our three tips listed above should definitely help to prevent forest fires, accidents do happen. If you notice a fire starting to get out of control, immediately call 9-1-1 or the appropriate authority and ask for help. The sooner you can get help over to you, the better the chances of the fire not becoming a larger problem.
Planning a camping trip? Don’t forget to stock up on all the camping essentials like our Stainless Steel Square Wood Burning Stove to safely whip up a tasty meal and first aid supplies in the event of an emergency.
As the premier site to find essential outdoors, camping, hiking adventure, and survival equipment, you can count on us to have everything you need to enjoy Mother Nature — safely.
Sources:
Suppression | US Dept. of Interior.
How To Preemptively Create a Fire Escape Plan
How To Preemptively Create a Fire Escape Plan
When an itty-bitty flame gets out of control, it can cause a massive and uncontrollable disaster within a matter of minutes. That being said, a well-designed fire escape plan plays a critical role in case of an emergency.
Don’t have one? Never fear — Stealth Angel Survival is here to the rescue!
Read on to learn everything you need to know to preemptively create a fire escape plan.
Everything You Need To Know About Creating a Fire Escape Plan
You know all about stop, drop and roll. You replace the batteries in your smoke alarms at least twice a year and know how to call 9-1-1. But do you have a fire escape plan? Probably not — but don’t feel ashamed; according to the American Red Cross, only 26 percent of families have actually developed and practiced a home fire escape plan.
Why don’t very many families have a home fire escape plan, you ask? Well, some people just don’t like thinking about the possibility of a disaster and try to avoid them at all-cause, including not preparing for them. This, of course, is a grave mistake.
Another issue lies in the fact that many folks believe that they have more time to gather their loved ones and get out if there’s a fire. But this is another mistake as you really may only have two minutes or less to escape safely once the smoke alarm sounds.
You need a home escape plan for many reasons, such as:
- Working smoke alarms and a solid home fire escape plan can reduce your risk of injury or death.
- Most fatal fires happen in homes.
- Fires double in size every single minute.
- When a fire strikes, you may have less than one to two minutes to get out.
- Fires produce heat, smoke, and toxic gases.
- Fires create thick, black, choking smoke, which can make it nearly impossible to see or breathe.
Needless to say, a fire escape plan can make all the difference between life and death.
So, without further ado, here’s how to create a fire escape plan:
Step #1: First Things First. Make Sure You Have all the Right Equipment
Regardless of how annoying they can be when you accidentally overcook your chicken or burn popcorn (just us?), smoke detectors are so undeniably important. The sooner you’re aware of a fire, the more likely it is that you and your loved ones can safely escape.
At a minimum, make sure you have fully operational smoke alarms in every bedroom, but ideally, you should have multiple smoke alarms on each level of your home — including hallways and especially your kitchen. And whatever you do, don’t forget to change the batteries twice a year. Your smoke detectors are pointless if they don’t work!
In addition to smoke alarms, if your home has two floors, it’s wise to install an escape ladder to make sure that everyone can escape safely from the second-floor rooms in the event of a fire.
Step #2: Identify Your Exits, Choose A Meeting Spot, Draw Up Your Fire Escape Plan
When creating your fire escape plan, every member of the household should be involved. Walk through your home and make sure everyone can identify at least two ways out in each room, including windows and doors.
If you have little ones, you also need to explain very clearly that it’s very possible that they may have to exit by themselves. Let them know not to come looking for you, especially if their door feels hot or if they see smoke. Teach them how to escape safely and to do it all on their own — this is very important.
In addition, you will also need to let your loved ones know where to meet up outside the house once they’ve escaped. Pick a safe spot far enough away from your house that’s out of harm’s way but close enough that your kiddos would be comfortable walking there by themselves. A couple of good choices could include a neighbor’s house or a stop sign.
Finally, draw out the basic floor plan of your home with doors, windows, and any other exits included. This should be crystal clear so that everyone in the household can easily understand it — including small children.
Step #3: Practice Makes Perfect
Chances are you’ve heard the saying, “if you don’t use it, you’ll lose it.” Well, this couldn’t be more true when it comes down to safety.
When you create a fire escape plan, don’t just tape it up on the wall and forget about it — the “Set it and forget it” rule does not apply here. You and your loved ones need to physically put the plan into action and practice it at least twice a year.
Here are a few other guidelines to follow:
- Practice the fire escape plan at night, which is when most fatal home fires start.
- Have everyone in the household practice feeling their way out of the house with their eyes closed to simulate escaping through thick smoke and darkness.
- Any time a family member has a change in their health or when there’s a temporary or permanent change to your household, revise your home fire escape plan.
Additional Fire Escape Plan Tips
Here are three additional tips that can help you create a fire escape plan:
Tip #1: Plan For Everyone
When putting together your fire escape plan, it’s really important to take into account the special needs of everyone in your household, including elderly family members who may not be very mobile. If grandma is in a wheelchair — you need to plan for that!
Tip #2: Teach Everyone the Emergency Number
Teach everyone how and when to call 9-1-1. Instruct your children that 9-1-1 is the only number they should call when there is an emergency like a house fire. However, they should only call after they’ve escaped and are safe.
Do not attempt to call for help from inside your home during a house fire, as it is much more important that you use every single second possible to get to safety.
Tip #3: Have a Survival Kit Ready To Go
While it’s not always possible to know when an emergency might strike, it is possible to be prepared for one. And one of the best ways to be prepared is by keeping a survival kit in an easy-to-grab location.
A survival kit like our Stealth Angel Survival Kit is jam-packed with a wide array of survival tools plus a field-grade first aid kit. With 36 first aid supplies, this medic bag bursts at the seams with everything from tools like fire-starters and glass breakers to bandages, compresses, swabs, and more. If you have pets, a dog survival kit and a cat survival kit are also useful to have.
In the event of a fire, fast first aid can make all the difference if someone were to become injured. Make sure each family member has a survival kit in their bedroom that can easily be grabbed when escaping. It’s also a good idea to stash a few around the house — just in case.
Ready in a Hot Minute
And there you have it —everything you need to know to preemptively create a fire escape plan!
A fire can spread unbelievably fast through your home, leaving you and your loved ones as little as one to two minutes to safely escape once the alarm sounds. Pull everyone in the household together and make a solid fire escape plan before it’s too late. Don’t fall victim to thinking a house fire can never happen to you because it can, and when it does, being prepared can make all the difference in not only your safety but your loved ones.
With a smart and well-thought-out plan in place, you can be a step ahead of the unexpected when you really may not have the time or ability to calmly think things through.
As the premier site to find essential outdoors, hiking, camping, adventure, and survival equipment as well as emergency preparedness kits, disaster aid supplies, and more, you can count on Stealth Angel Survival to provide you with the most essential, highest quality products at an undeniably affordable price.
Backed by a world-class customer support team that is with you every step of the way, whether you’re putting together a fire escape plan or looking for the best fire starters on the planet, we are here and ready to assist you with all of your needs, whatever they may be.
Sources:
How to make a home fire escape plan | National Fire Protection Association
How to stop bleeding from skin wounds
How To Stop Bleeding From Skin Wounds
Whether you essentially live in the great outdoors or simply enjoy an occasional camping trip from time to time, a few wounds here and there are inevitable. Injuries such as tiny cuts that trickle or deeper gouges, minor scrapes, or larger abrasions are pretty common among those who go out in the wild. Consequently, knowing how to care for them is a really great skill to have.
Without proper treatment, something as minuscule as an itty-bitty minor cut on a finger or a slightly scraped knee can quickly become infected, ultimately requiring you to cut your fun-filled outdoor activities short to seek professional care from a doctor.
Interested in learning more? Keep reading.
First Aid 101: How To Stop Bleeding
No matter how prepared you may be for your outdoor adventure, injuries can happen at any time. This is why it’s crucial to understand how to stop external bleeding while you’re in the wilderness. If you don’t treat your skin wounds, you’re risking infection and scarring. While a little scar may be no big deal, an infection can be serious and, in some cases, even life-threatening.
So, what’s the best way to stop bleeding? Follow these easy steps:
Step 1: First Things First. Identify the Severity of the Injury
Before you start to treat a skin wound, you should first identify its severity as best you can. Why? Because there are some situations in which you really shouldn’t try to administer first aid of any kind.
For instance, if you suspect that there is internal bleeding or if there happens to be an embedded object surrounding the site of injury, call 9-1-1 immediately and leave first aid to the pros.
Also, it’s best to seek immediate care for a wound or cut if:
- It’s on the face.
- It’s the result of an animal bite.
- It’s deep or a puncture wound.
- The bleeding will not stop after 20 minutes of applying first aid.
- There are visible objects like dirt or other debris that won’t come out after cleansing.
If your pal is bleeding profusely, be on the lookout for signs of shock. Cold, clammy skin and a loss of consciousness can all indicate that a person is about to go into shock from blood loss.
This is a medical emergency that requires immediate medical attention. Have your injured person lie down on the floor as you both wait calmly for medical care to arrive. Moving around could cause further injury.
Step 2: Wash Your Hands
Once you’ve assessed the skin wound and find it doesn’t require immediate attention, you can move forward to help stop the bleeding, but first — wash your hands!
It doesn’t matter if it’s a tiny scrape or a huge cut; sanitizing your hands prior to administering first aid is extremely important. You don’t want to introduce icky bacteria or parasites to an injured area. This might be a little challenging when you’re out in the wild, but it certainly isn’t possible.
First, take a look at your inventory. If you’re properly prepared, you may have sanitizing supplies already that can quickly cleanse your hands. Medical gloves can also reduce germ exposure. Whenever you plan a trip in the great outdoors, it’s best to be prepared for the unexpected by having a well-stocked first-aid kit.
Not sure where to find one? Check out our Stealth Angel Survival Field Medic First Aid Kit! With 36 first aid supplies, this medic bag essentially bursts at the seams with everything from tools like fire-starters and glass breakers to bandages, clean cloth, compresses, swabs, and more.
If you don’t have the ability to properly sterilize your hands, your next best bet is ash. While you should only use your bare hands as a last resort, this can work. Yup, it’s true: believe it or not, ash has antimicrobial properties.
Simply make a quick paste of ashes and clean water before thoroughly scrubbing your hands and rinsing. Make your ash from burning hardwoods and avoid pine as it tends to leave behind a resinous residue.
Step 3: Slow the Flow
Now that your hands are squeaky clean, it’s time to slow the flow!
Whether you accidentally sliced yourself with your handy-dandy pocket knife or scraped your knee on a rock, the first step in actually treating a skin wound is to get the bleeding under control. There are two primary methods to control bleeding: with a pressure dressing or with direct pressure.
A third option would be using a tourniquet which can help to control severe bleeding, but that’s something we’ll cover in a later article. Today, we’re talking all about skin wounds with minor—not life-threatening—bleeding.
Not exactly sure what a pressure dressing is? Don’t worry, not very many people do! Simply put, it’s a large dressing that’s put securely in place on top of a skin wound to apply…you guessed it…pressure to stop the bleeding.
One of the best benefits of using a pressure dressing to slow the flow is that it frees up your hands to work on other tasks.
Check out the following steps for how to apply a pressure dressing to a skin wound:
- Sterilize your hands.
- Open your first aid kit and grab the sterile gauze pads. Apply directly to the wound.
- Using roller gauze, wrap the skin wound firmly to keep steady pressure on it.
And voila! Once the pressure dressing is applied, check your friend’s circulation, sensation, and movement to make sure you didn’t wrap the dressing too tightly. The idea is to slow the flow, not cut off circulation completely.
This method is pretty simple: find the source of the bleeding and apply direct pressure to that spot. Then, if you can, elevate the wound above your friend’s heart while maintaining pressure. Why? Because elevation slows blood flow simply because it’s much more difficult to flow uphill than downhill.
Keep your hands on the wound for roughly ten minutes of pressure. And whatever you do, resist the urge to take a quick sneak peek. Breaking the delicate platelet barrier too soon can cause the person’s blood to start flowing again. You see, the idea is to keep pressure on the wound long enough so that a clot can form. Once a blood clot forms on the wound, the bleeding should stop.
Step 3: Cleanse the Wound
Has the bleeding finally stopped? Perfect. Now it’s time to cleanse the wound.
Cleansing a skin wound prevents potentially life-endangering infections. Plus, the trauma site won’t heal properly unless you thoroughly remove all the dirt and debris.
Locate a source of fresh running water and gently wash the general area of the wound for a few minutes. If you have an antiseptic ointment in your survival kit, this is the time to use it.
Otherwise, a piece of sterile gauze or clean fabric dipped in saline to scrub away all the dirt and debris from the wound will do just fine. If you have soap, that will work too. However, it’s very important that you never apply soap to an open wound. This can cause serious irritation and slow down the healing process.
Is there still dirt or debris lodged in the wound? Check your kit for medical tweezers and proceed carefully.
<h3> Step 4: Dress the Wound </h3>
Minor scrapes and abrasions are best to be left uncovered so that they can breathe. Plus, your body will quickly form a scab that essentially acts as a natural bandage to heal these smaller wounds. If the wound is larger, on the other hand, it’s best to dress them in layers of fabric like gauze or bandages until they are no longer at risk for infection.
Wrapping It Up: Use the Cleanest Material
So, what’s the best way to stop bleeding from skin wounds, you ask?
Simply put: by applying pressure!
First aid is something every person who spends a lot of time in Mother Nature should learn. Whether you’re a casual camper or a hardcore survivalist, it’s of the utmost importance that you learn how to assess a skin wound, stop the bleeding and learn how to treat it. Be a step ahead of the unexpected…it may save someone’s life (or your own) one day.
Here at Stealth Angel Survival, our items have been hand-selected by our incredible experts to get you through any type of situation in the best way possible. From first aid kits to survival bug out bags and everything in between, you can count on us to keep you and your family protected.
Don’t settle for poor-quality survival equipment because you never know when your life may depend on it.
Sources:
Learn how to filter water for survival
Learn How To Filter Water For Survival
Here’s the truth— you won’t last more than a few days if you’re stuck in a survival situation without fresh water. Whether you’re experiencing a crisis in the wild after becoming lost or in your own home after a natural disaster, the body can’t go more than three days without H2O.
And seeing as our bodies are made of mostly water — up to 60%, to be exact — it makes sense that the wet stuff is critical for survival.
With that being said, while there are many survival skills that one should have under their belt, understanding how to filter water is arguably the most important. After all, a human can go for more than three weeks without food, but only three days without water.
Interested in learning more? We can help! Read on to learn everything you need to know about filtering water for survival.
But First, What’s So Bad About Drinking Contaminated Water Anyway?
Water is water, right?
Wrong! When you’re desperate for a little H2O, taking a quick sip from the pond may seem harmless, but there are actually a number of bacteria and icky parasites that can be ingested. Consuming them could lead to a serious infection or illness. Wondering what some of those itty-bitty organisms are and how dangerous they can be?
Here are just a few of them that are commonly lurking in unfiltered water:
- Giardia: Many people tend to become infected with this microscopic parasite via drinking from streams, lakes, or water that hasn’t been properly treated. The symptoms are not pleasant by any means and include nausea, stomach cramps and pains, diarrhea, gas, and dehydration.
Thankfully, this creepy-crawly can easily be filtered out of the water with something as simple as our Personal Water Filter.
- E. coli: This common kind of bacteria can also be easily extracted from water by using a top-notch water filter. If you’ve ever had — or heard — of traveler’s diarrhea, you can thank E. coli for that. Another E.coli strain can cause extremely severe diarrhea and, in some cases, can even be fatal.
- Campylobacter: The lesser evil of the three, this bacteria can cause stomach cramps, fever, and diarrhea. In most cases, accidentally consuming campylobacter can be handled at home, but you may need medical intervention if the pain becomes unbearable.
Hold Up – Does ALL Water Need To Be Treated?
Ah, good question!
We’ll explain:
In the wild, if you collect rainwater in a clean container, it’s generally regarded as safe. The same goes for snow that you’ve melted. H2O in the wilderness is also almost always safe if you’ve collected it via transpiration — as long as the plant itself isn’t poisonous, of course!
If you collect the water by any other means, though, whether that be from a stream, lake, pond, river, etc., it should most definitely be filtered and/or purified. You never know what might be lurking in the ground or upstream from your collection spot.
What’s the Difference Between Purification and Filtration?
Although many individuals tend to use these two terms interchangeably, believe it or not, they are not the same when it comes to decontaminating H2O. While both, of course, are better than doing nothing at all, water purifiers provide the most protection.
You see, a filter relies on a physical barrier, such as charcoal, to remove the undesirables out of the water. With the right filter, you can remove life-threatening bacteria and parasites.
What you won’t be able to take out of your water with a filter, however, is viruses.
When you purify your water, you are also working to remove all the bad stuff, but you’re doing so by using safe chemical methods, such as adding a little iodine or chlorine. When you do this method, you can remove not only bacteria and parasites but also viruses that are too tiny to be removed by your handy-dandy filter.
As a general rule of thumb, purifying your H2O is the way to go! But if you don’t have the necessary chemicals and you become dehydrated, it’s much better to use a good quality filter than nothing at all.
OK — How Do You Know If You’re Dehydrated?
Dehydration is a very serious concern, especially for outdoor adventurers! And despite what some people may think, it can occur in both the summer and the winter seasons, on a simple day hike or on a backcountry expedition.
Thirst isn’t always a reliable early indicator that your body is in dire need of water. In fact, many people don’t necessarily feel thirsty until they are already dehydrated. That’s why it’s of the utmost importance to drink plenty of water daily and increase your intake on especially hot days or when you’re exercising.
Dehydration tends to look different from person to person, but if you notice any of the following signs, stop what you’re doing and get your hands on potable drinking water as soon as possible.
- Extreme thirst
- Less frequent urination
- Fatigue
- Dizziness
- Confusion
- Seeing “stars”
Once you’re dehydrated, it can lead to many serious complications, including:
- Heatstroke
- Severe cramps
- Kidney problems (urinary tract infections, kidney stones, kidney failure, etc.)
- Seizures
- Blow blood volume shock
- Trouble breathing
- Fever or chills
And after roughly three days, it’s lights out. Needless to say, dehydration is an extremely serious thing, and everyone would benefit from knowing how to filter water in the event of a survival situation. You may never know when a disaster may strike, but you can be prepared.
How To Filter Water For Survival
So, without further ado, here are some of the top ways to filter water for survival:
Boiling Water
The oldest method in the book, boiling water, is completely effective at killing all living contaminants in just a few minutes. Now, boiling your water won’t remove certain non-living contaminants such as heavy metals, but it can remove many chemicals through vaporization.
All you have to do is bring water in a pot over high heat until you have rolling bubbles. Allow them to roll for at least five minutes before allowing the water to cool down for drinking.
For easily boiling, we recommend our Stainless Steel Round Wood Burning Stove. Not only is it extremely lightweight and compact, but there are no chemical emissions and no carbon footprint — what’s not to love?
Water Filter
One of the most effective ways to filter water is to make use of a high-quality water filter. While there are many different water filters on the market, we love our Personal Water Filter. Why? Because it begins with a layer of thick cotton and medical-grade, hollow fiber UF membrane, which eliminates 99.9999% of bacteria all on its own. After that, water will quickly pass through activated carbon and antibacterial beads for an even more thorough cleanse.
Plus, our personal water filter connects to standard-size plastic bottles for clean water storage and comes with a sanitary cap and machined metal carabiner. Lightweight and compact, our water filter is unmatched when it comes to filtering H2O and is a perfect addition to any backpack or survival set.
Solar Water Disinfection
Lastly, if you’re stranded and in need of potable drinking water, solar water disinfection might be your only option. This method uses ultraviolet rays over time to kill bacteria. You just need to be in a sunny environment and have a clear plastic bottle for this to work.
Take your clear plastic bottle and fill it up with water. Then, position the bottle directly under the sunlight so that the UV rays can work their magic. Make sure there is no shade anywhere near the bottle.
Leave your bottle of water in the sunlight for about six hours or two days if it’s cloudy.
Water World
The best way to beat the heat and avoid dehydration is to be completely prepared. If you go camping or hiking, always bring plenty of water as well as a filter. Nothing is worse than being stranded without potable drinking water. If you go too long without rehydrating yourself, it can lead to serious health complications and even death.
When searching for survival supplies, be sure to purchase from an honest and reputable company, such as Stealth Angel Survival. As the leader in emergency preparedness kits, supplies, and survival products, you can count on us to have everything you need to keep you and your loved ones protected.
Sources:
The Water in You: Water and the Human Body | USGS
How long can you live without water? Facts and effects | Medical News Today
Kidneys: Facts, Function & Diseases | Live Science
How To Find Your Way Out Of The Woods Without Your Phone
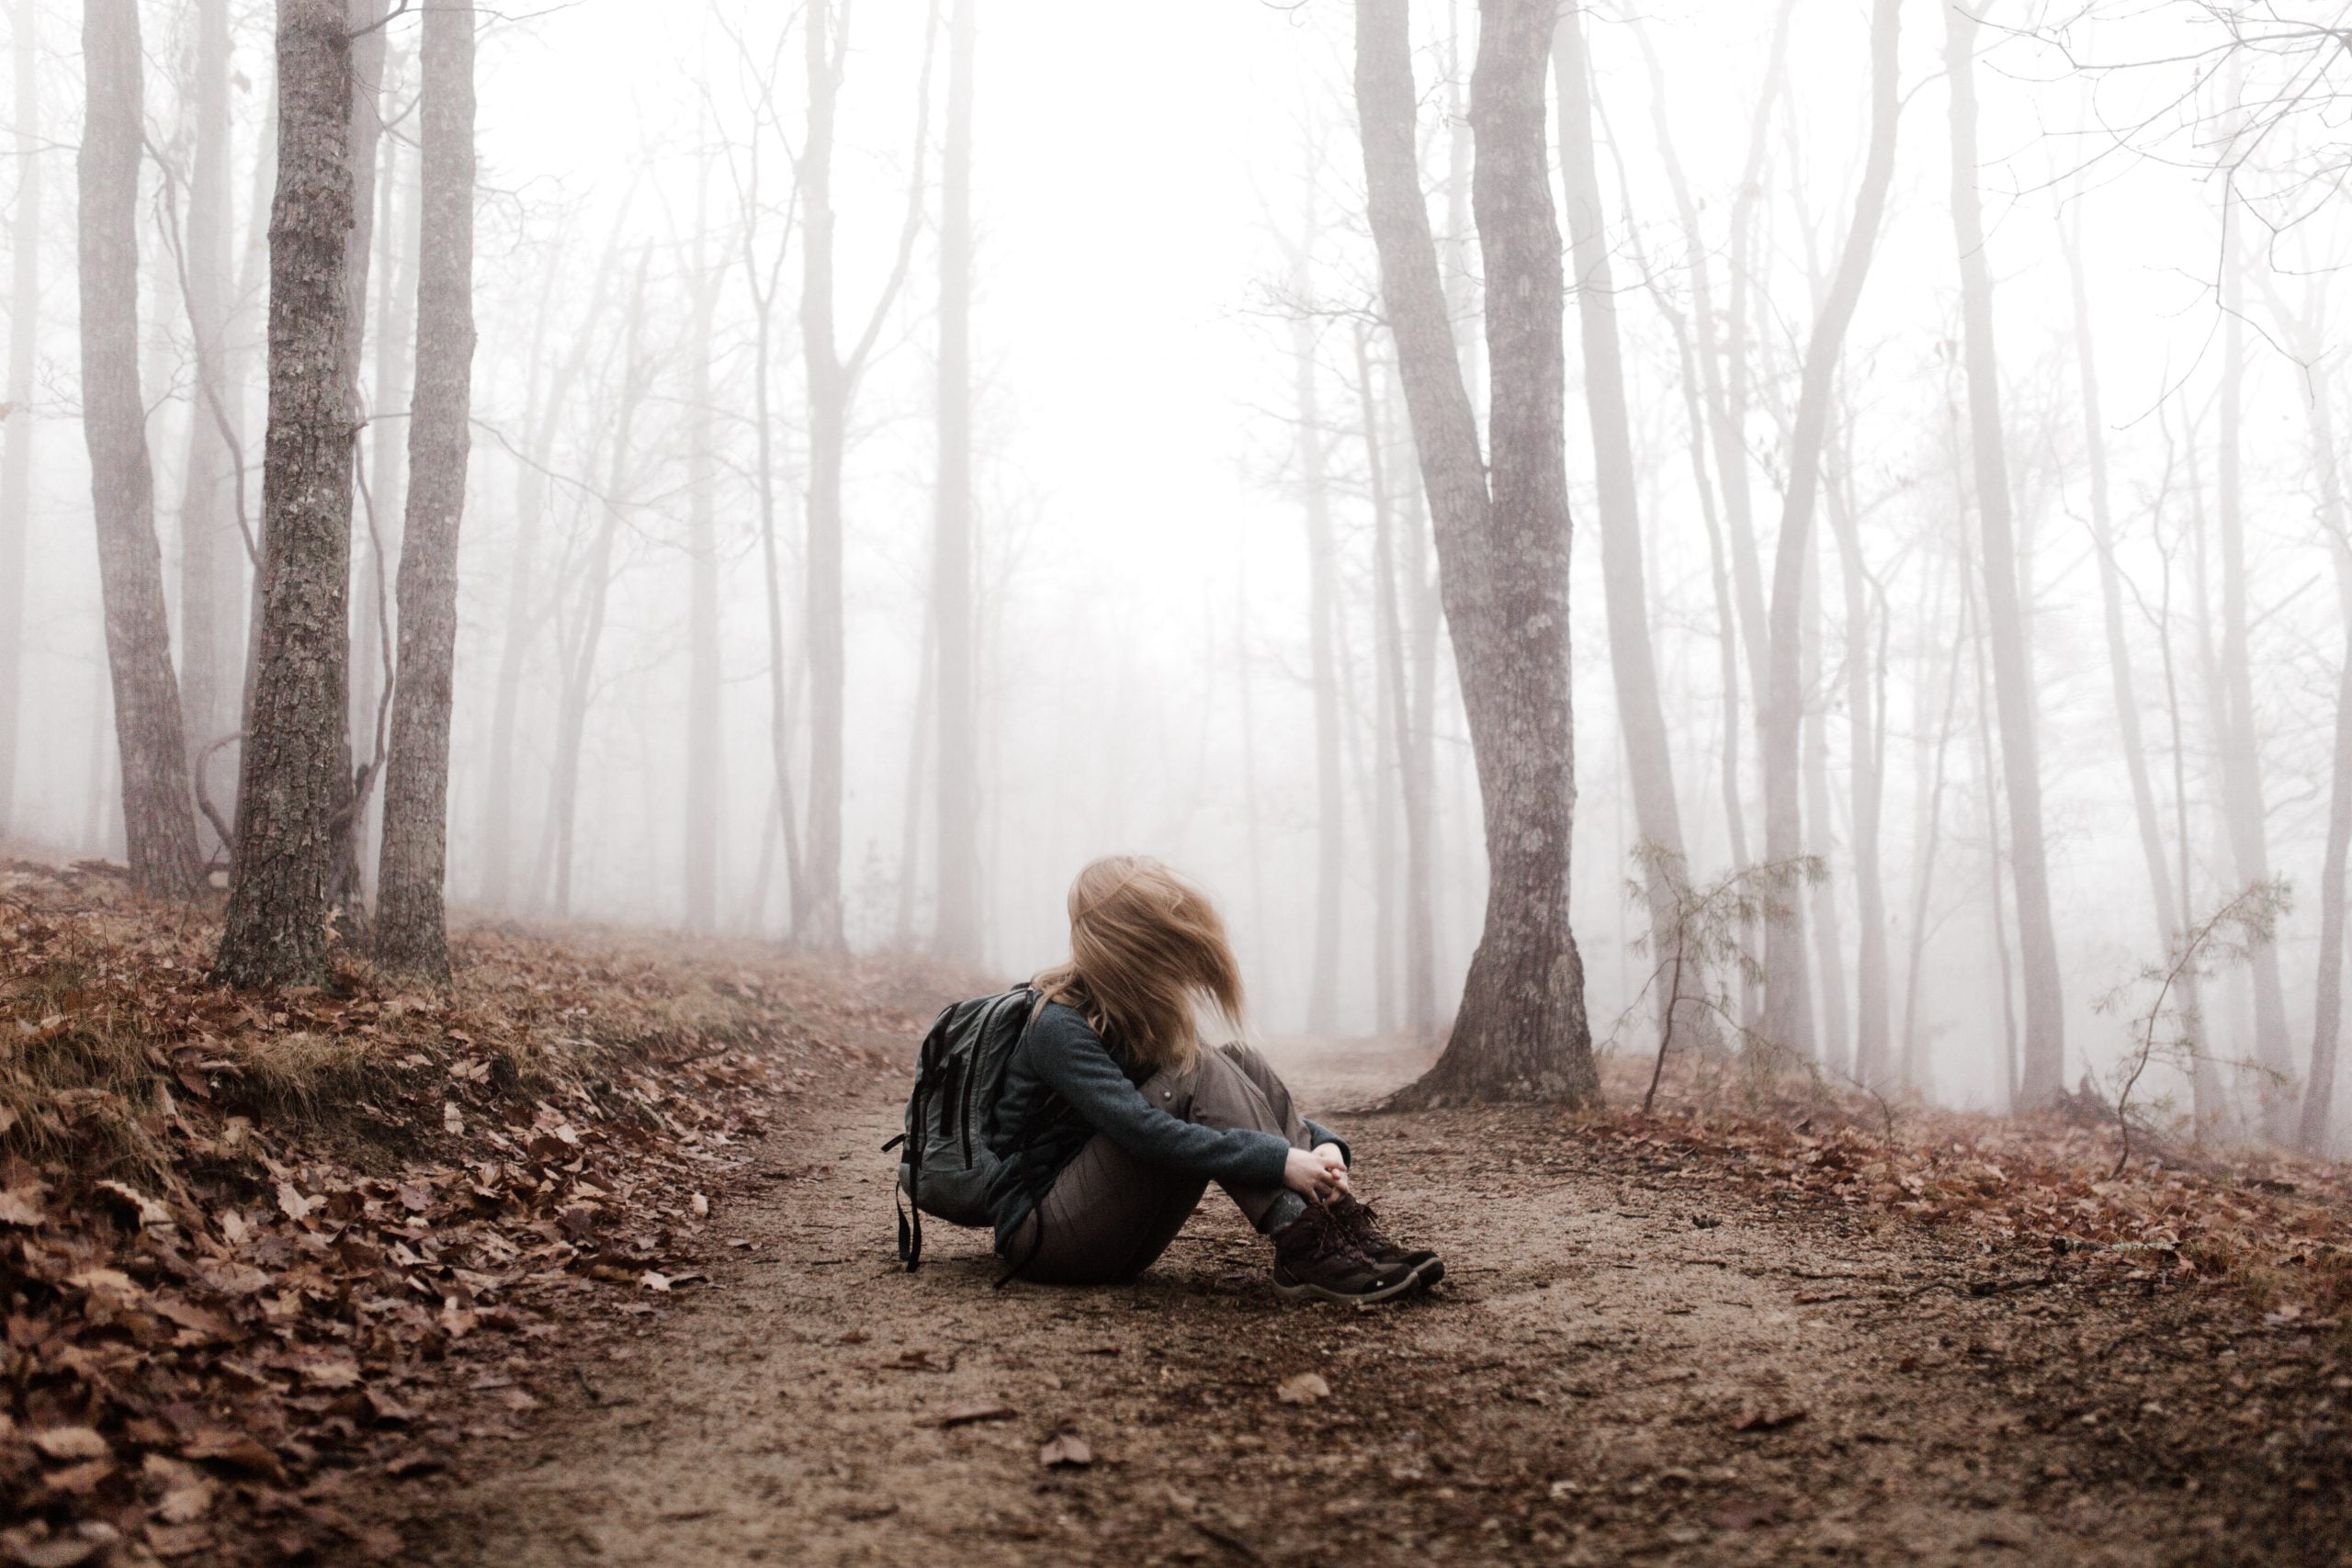
There are few things more terrifying than realizing you’re lost in the woods… without your phone. Luckily, there are some simple tricks you can use to get back to safety as soon as possible.
The Principles of ‘Leave No Trace’
If you frequently spend time camping, hiking, fishing, or otherwise enjoying the outdoors, you will have likely heard the phrase, “Leave No Trace.” This phrase, accompanied by seven principles, is often attributed to the Boy Scouts of America, but it applies to anyone that is a lover of the outdoors.
How To Introduce Your Kids To The Outdoors

Here’s 4 simple ways to introduce your kids to the great outdoors… and make sure that they grow up safe and knowledgable about the backcountry.
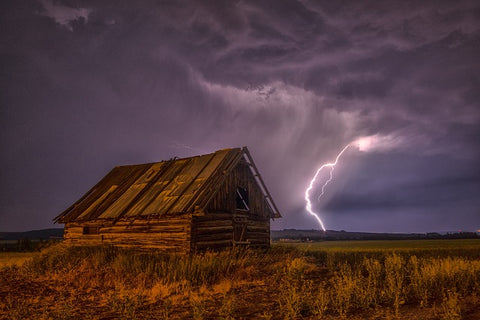
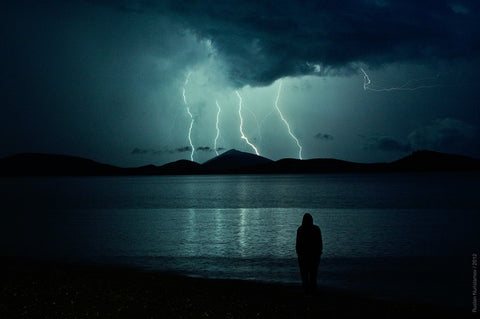
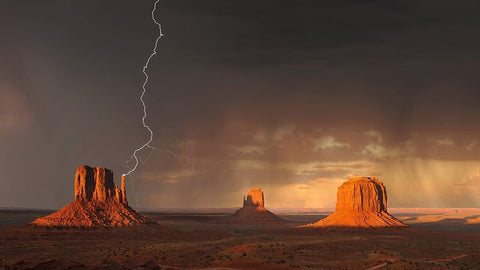
What To Do If You’re Caught In A Thunderstorm


Being caught outdoors during a thunderstorm isn’t just scary — it’s downright dangerous. Quick thinking and the right moves can keep you safe, but carelessness can make your chances of being struck by lightning a lot greater than you think.
Tip #1 – Seek Shelter, Now.
If you remember nothing else, remember this: when caught outdoors during a thunderstorm (or while one rolls in), you need to seek immediate shelter. Enjoying thunder and lightning from inside your cozy living room is one thing — experiencing it when you’re out in the wilderness is something else entirely. In addition to the obvious threat of lightning, severe wind and hail can produce additional danger and complication in the form of flying objects and general chaos.
Then, of course, there’s the danger inherent in lightning itself. Everything you’ve heard about it being extremely unlikely for you to be struck by lightning is assuming that you’re in a typical city environment where there are many other, taller objects to draw the electricity away from you. In a wide open field, or even rocky terrain, you could easily be the most attractive target for a bolt of lightning in the immediate area.
So, you need to seek shelter right away. Ideally, that means a nearby building or even a vehicle. If a car is struck by a bolt of lightning, it will pass through the frame and down to the ground, usually protecting the occupants. Understand that storms can move rapidly, and that if you feel a tingling in your extremities, you are in immediate extreme danger of proximal lightning strikes.
Tip #2 – Find A Low Area That Won’t Flood
Of course, conveniently-located shelter buildings and cars aren’t exactly common in the middle of the wilderness, so you also need a contingency plan. If no suitable shelter is available, the next best bet is to find some form of protection. That might be a rocky outcropping where you can climb between boulders, or even underneath the shortest trees you can find (lightning will tend to strike the tallest available target).
By finding low-lying ground, you increase the likelihood that the lightning will strike a different area than the one you’re in. However, there is one caveat: you’ll want to make sure that as the rain pours down, the low-lying spot you’ve chosen won’t flood. The reason is simple: electricity loves water, and if lightning strikes water that you’re even adjacent to, you’re going to have quite a shocking experience.
Tip #3 – Avoid Contact With The Ground, Be A Small Target
Sometimes, mother nature simply moves too fast for us despite our best planning. You may find yourself in a wide open area as a flash storm rolls into the area, with the nearest semblance of shelter miles away.
If this nightmare scenario happens, there are still some small last-ditch things you can do to give yourself the best possible fighting chance. You should learn the protective stance, which is to squat down on the balls of your feet (minimizing your contact with the ground), put your hands on your knees and hug your elbows to your torso, and tuck your head as far down between your knees as possible.
What this stance does is to create the absolute smallest possible target for a lightning strike to “choose” you, while also minimizing your surface area on the ground and increasing your likelihood of survival by a precious few percentage points.
And while we’re on the topic of increasing your odds of survival, having a high quality survival kit in your immediate belongings is another great way to ensure you make it out of a disaster situation in one piece, whether that’s a thunderstorm or anything else.
Bear Safety (How Not To Get Eaten)

Any experienced adventurer can tell you that bears represent some of the biggest dangers in the entire wilderness. Here’s how to stay safe and not get eaten.
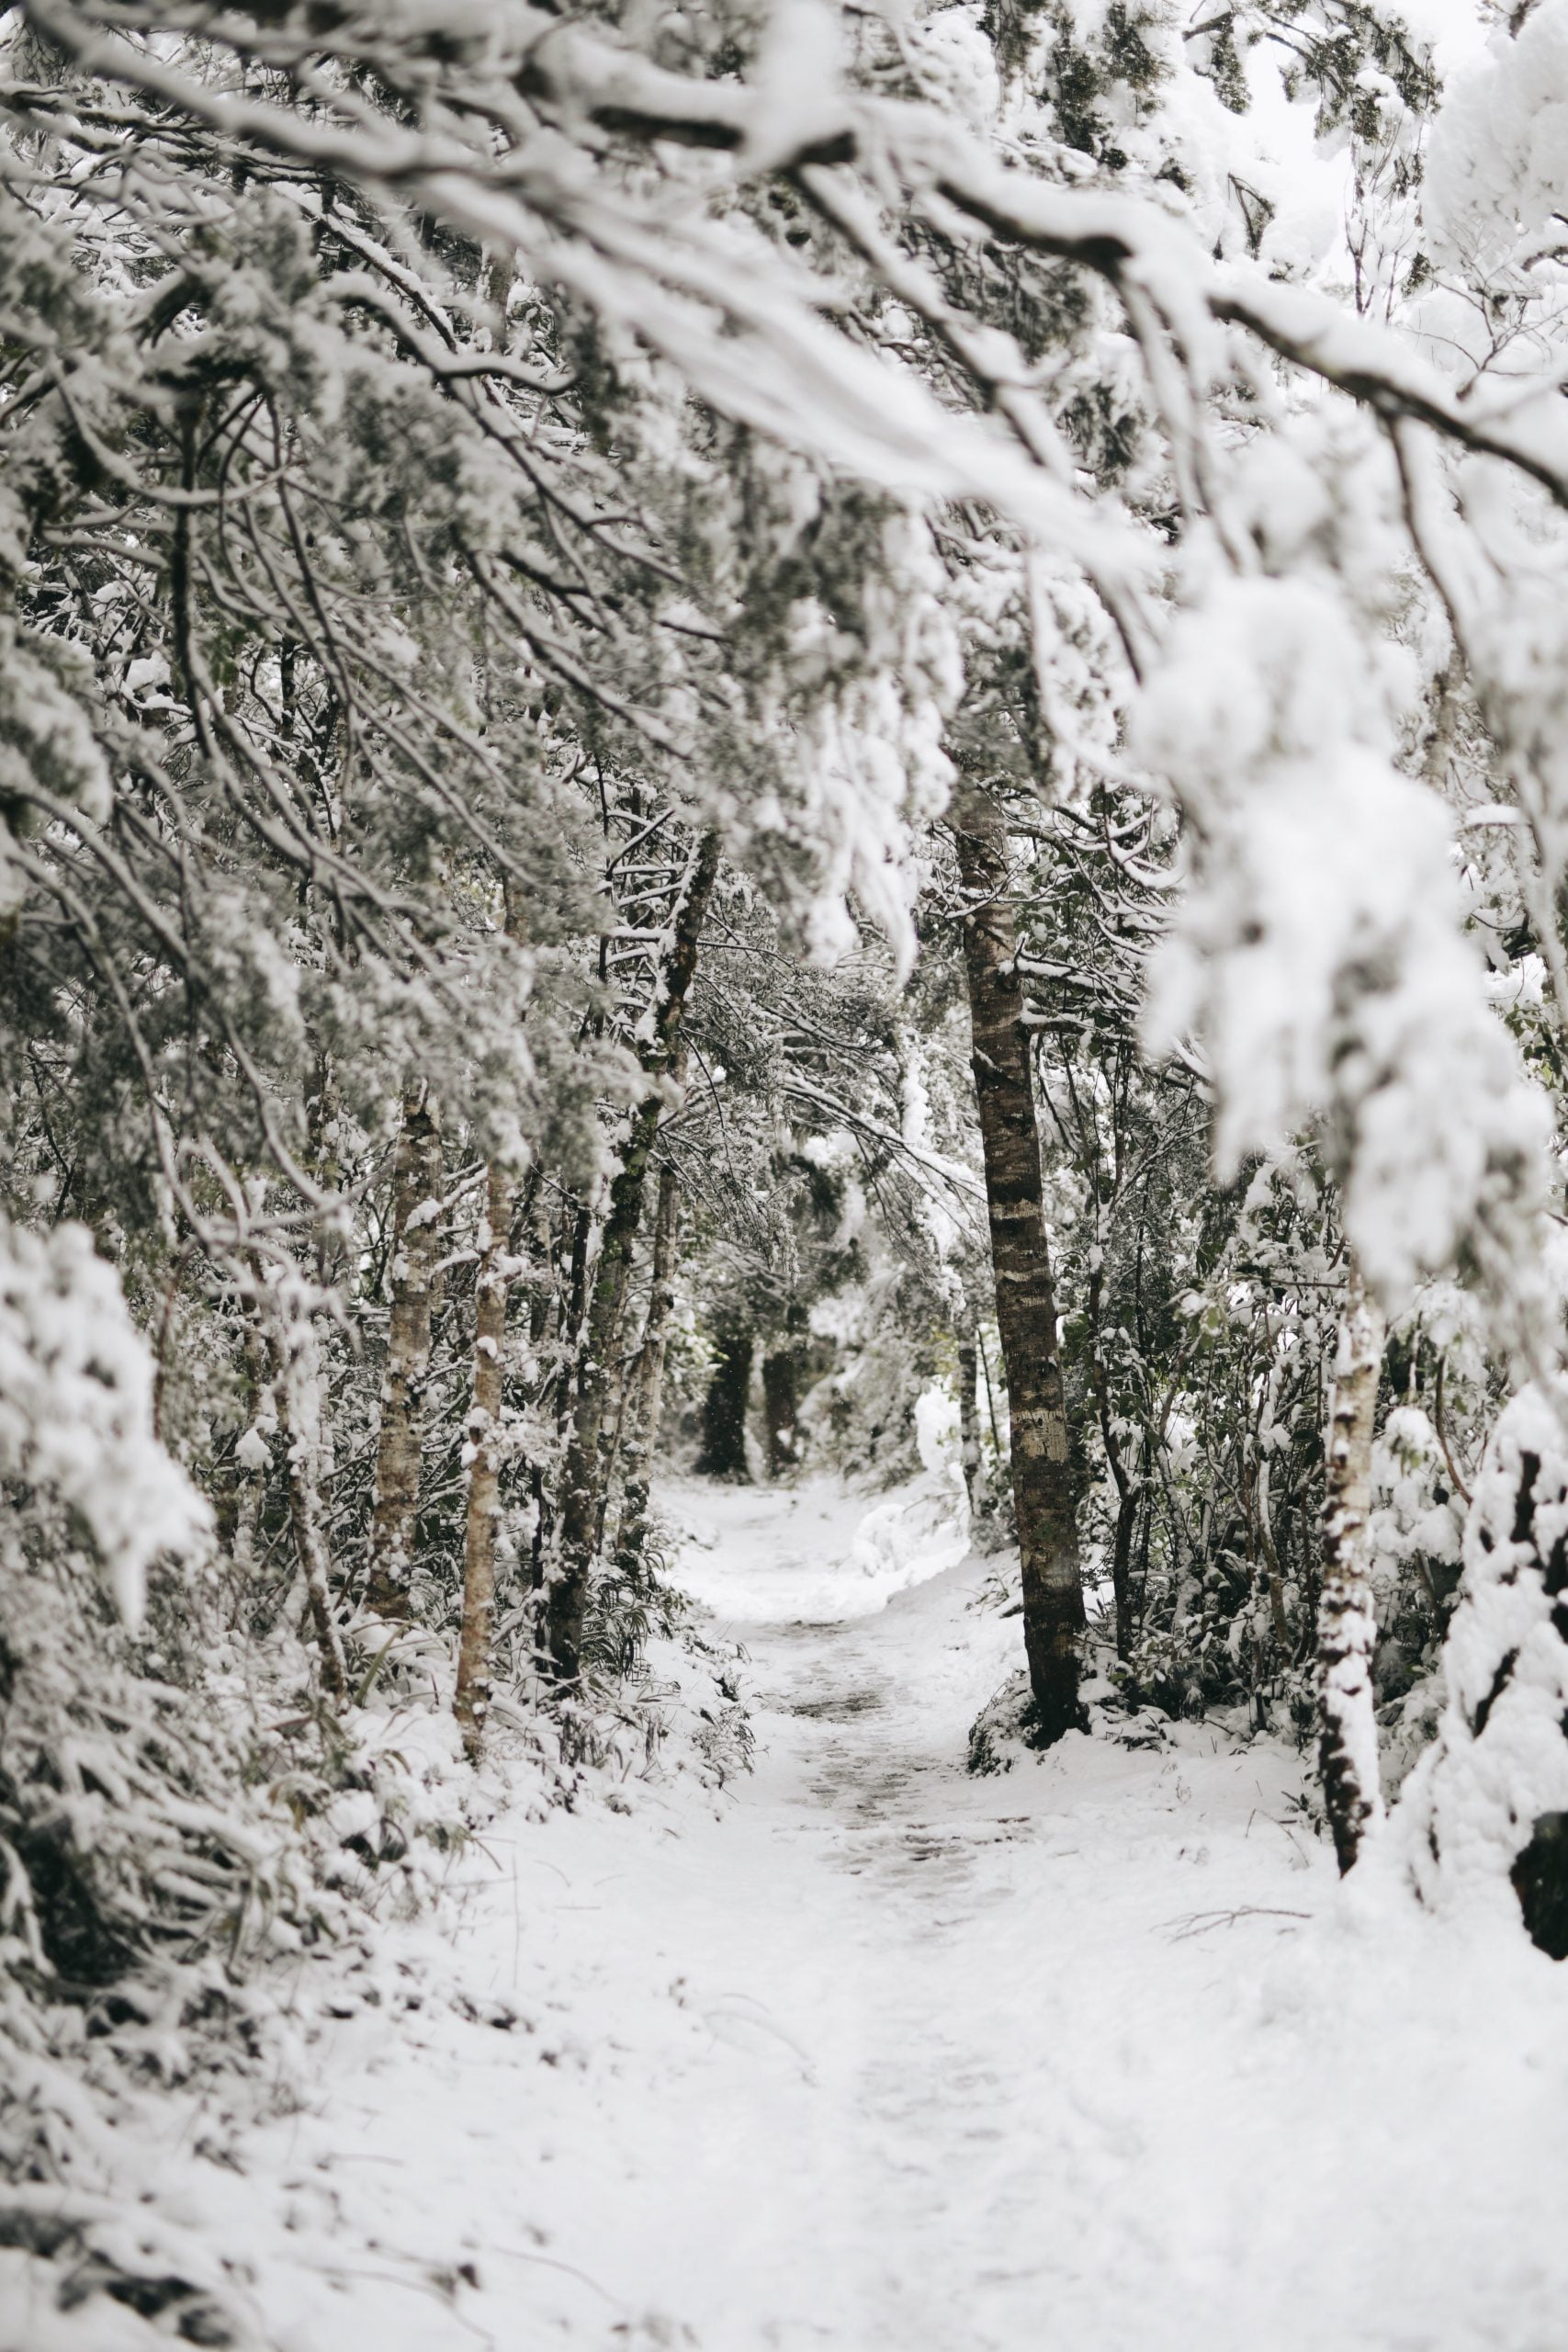
The Top 5 Snow & Ice Survival Hacks
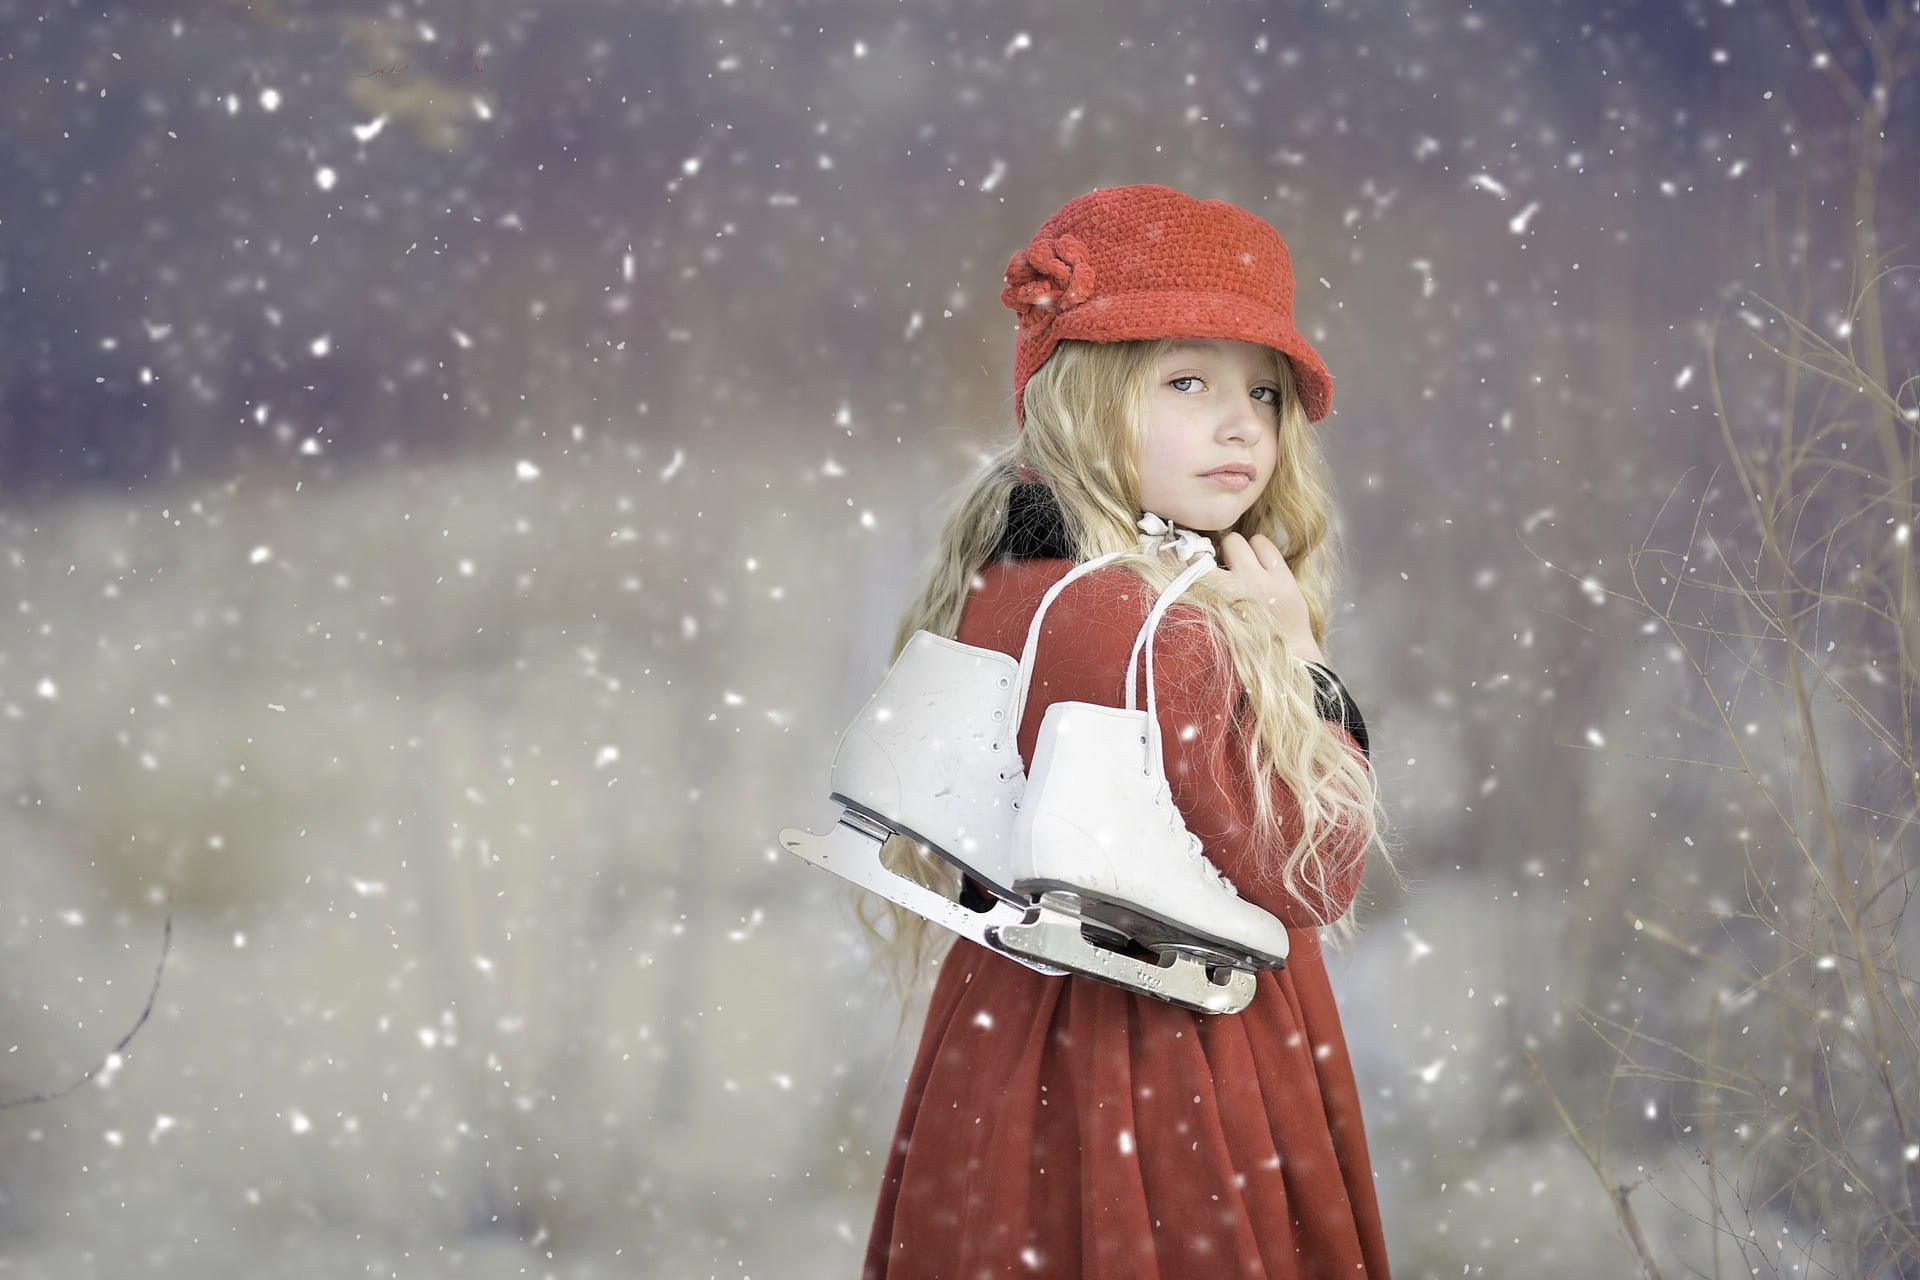

Whether you live in a climate that gets snow and ice during the winter, or you plan to visit an area that has temperatures that drop below freezing: it’s important to internalize basic safety tips about snow and ice survival. Having a few safety hacks stored in your brain could mean the difference between injury, life, and death. These tips can help anyone – from frequent hikers and backpackers, to the average person just driving through or living in a cool climate. Either way, these survival hacks are sure to make you feel safer and more secure.
Tip #1 – Trapped Under Ice
If you find yourself on a body of water in your vehicle and the ice breaks, do your best to remain calm! The most likely scenario is that your car doors will be difficult or impossible to open without the pressure being equalized inside of the car. This means that until your car is completely submerged, you will not be able to open the doors. Focus on steady breathing and allow water to rise and fill the car completely. Then, open the car door and swim out of the car and go straight up.
BONUS HACK: If you frequently drive in areas with icy bodies of water, considering purchasing an emergency vehicle window breaker tool. These tools are able to shatter your vehicle’s glass, even before the pressure equalizes in your vehicle. These tools often come with seatbelt cutters, in case you are unable to remove yourself from your seatbelt in an emergency.
Tip #2 – On Thin Ice
It can happen in an instant. You swerve to avoid hitting a deer, your car hits a patch of ice and loses control, and you find yourself on a body of frozen water. You may have been ice fishing and noticed the ice cracking or seeming unstable. Regardless, this is one of the scariest winter situations possible. First, if you are not submerged and you are on the ice, do not panic. Crawl across the ice on all fours. Spreading out your weight across a large surface area helps put less tension on the ice and makes it less likely to break. If you become submerged in the water, do not thrash around. This causes you to expend body heat and energy. Do your best to remain calm and control your breathing. Rather than pulling yourself straight up, kick your legs underwater until they are behind you as if you were swimming forward. Then use your arms to pull yourself back onto the ice. Do not stand – crawl your way to shore.
Tip #3 – Wrecked In Snow
If you lose control of your car and become stuck in the snow, it’s important to know how to keep your warmth and energy. First, if you travel in cold areas often, you should have nonperishable food in your car, as well as water, a blanket, and extra clothes. Hopefully, you already know how important it is to keep a survival kit handy. If you become trapped in your car in the snow, stay with your car! Wandering around outside in cold temperatures will quickly deplete your body heat and your chances for survival. Check your car’s exhaust pipe – if it is blocked by snow, remove the snow covering the tailpipe. If the pipe is blocked, carbon monoxide can back up into your car and kill you. Do your best to run your car once an hour for about 10 minutes. This conserves the car’s gasoline while keeping the temperature up. Finally, make sure to dial 911. Even if your phone doesn’t have a signal, it’s possible a call to 911 will go through if your phone is able to pick up on another network’s signal. Stay by your car, stay warm, and stay safe!
Tip #4 – Lost In The Snow
If you are lost outdoors, stop wandering! Wandering in unfamiliar territory is likely to get you more lost and it depletes your energy. When you are lost, stay put unless you have absolutely exhausted all other survival options. Remember, snow is an insulator. Do your best to construct yourself a shelter out of snow. Snow will help keep you warm if you can block out wind. Stay in or near your shelter. Many people are tempted to eat snow to keep themselves hydrated. If you have already called for help and are desperate for water, snow is a good option. But if you believe help may be on the way, avoid eating snow. It lowers your internal body temperature and can lead to hypothermia.
Tip #5 – Snowed In!
Your home is a great place to be during a storm. But remember, if your power goes out, it may be out for days. Gather everyone in the home into a central room in the house – the more central the room, the warmer it will stay. Avoid walls with doors and windows. Build a fire in a fireplace if possible or stay near the kitchen by the oven. Preserve canned goods in case you are trapped for long periods of time. Fill up containers of water and keep them in the warm room so it doesn’t freeze and so you have access to water before pipes freeze.
BONUS HACK: Keep a camping tent in the house and set it up in a central room. This creates a nice, warm pocket for sleeping – especially if your central room is large and still cold.
